Previously, we went over the intro and installation of PostgreSQL. You can find that article here
Today, we will quickly set up our Graphql server.
Folder setup
Let's start by creating a folder in a place that's convenient for you. I called my folder chatroom. Once you have done that, open this project in your text editor (mine is VScode).
Initialize Project
Run this command within your terminal (inside the project folder) to get your project started.
npm init -y
Once you see the package.json file in your folder, we are good to go. Next, we'll need to install the packages we'll be using on the backend.
Install packages
Run this command within your terminal (inside the project folder)
Dependencies:
npm i apollo server graphql pg pg-hstore sequelize bcrypt
doing this in one line will install all of them for you.
devDependencies:
npm i --save--dev nodemon sequelize-cli
Now, you're probably wondering what the hell do some of these packages do? good question.
Package Explanation
- apollo server sets up a Graphql server on our backend.
- graphql allows us to set up our queries and mutations and defines our endpoints in our app.
- pg and pg-hstore deals with our PostgreSQL. pg-hstore turns our JSON data into hstore format. (works in the background).
- sequelize is the ORM we'll use to create models. It's used to turn our models into tables for the database.
- nodemon allows us to keep the server running at all times
- sequelize-cli is the command line interface we'll use to generate models easily, along with other things.
The last thing we'll do in this article is to set up the apollo server.
Apollo Server Setup
Inside your package.json file be sure to set your main entry point to be server.js like this
"main" : "server.js"
Now, create that server.js file in your root project folder.
At the top, import these files into server.js.
const { ApolloServer } = require("apollo-server");
const typeDefs = require("./graphql/typeDefs");
const resolvers = require("./graphql/resolvers");
We include the apollo server so we can get the server up and running, the other two files we will need to create.
The typeDefs and resolvers are files we need to pass into our apollo server to get our Graphql to work.
These files are important, typeDefs will have code that defines what our endpoints should look like. resolvers will have code that returns the data for those endpoints, based on how we defined them in our typeDefs. (that's in a nutshell)
So let's create these files. They will be simple for now, just to get us started.
In the root project folder, create a graphql folder.
inside that folder create a typeDefs.js file and a resolvers.js file.
inside typeDefs.js create this
const { gql } = require("apollo-server");

module.exports = gql`
  type Query {
    sayHi: String
  }
`;
We need to wrap our type definitions inside a gql template, then were exporting these types so we can access these endpoints in our Graphql server.
We will dive deeper into how they work later, this is so we can have something to import in our apollo server. Let's do resolvers next.
module.exports = {
  Query: {
    sayHi: () => "HI!!!"
  }
};
This sayHi query has the exact name as we defined in our types. That's because they are the same (again, dive deeper later on).
Let's go back to our server.js file and pass in those typeDefs and resolvers files, along with start our apollo server.
const server = new ApolloServer({
  typeDefs,
  resolvers
});

server
  .listen(4000, () => {
    console.log(`🚀 Server ready at port 4000`);
  })
  .catch(err => console.log(err, "err running server"));
We initialize our server and passed in our types and resolvers, and lastly started our server on localhost:4000
Before we can test this out, we need to run a script to start it with nodemon. Go to package.json and inside your scripts, create one like this
"dev": "nodemon server.js"
To start it, run
npm run dev
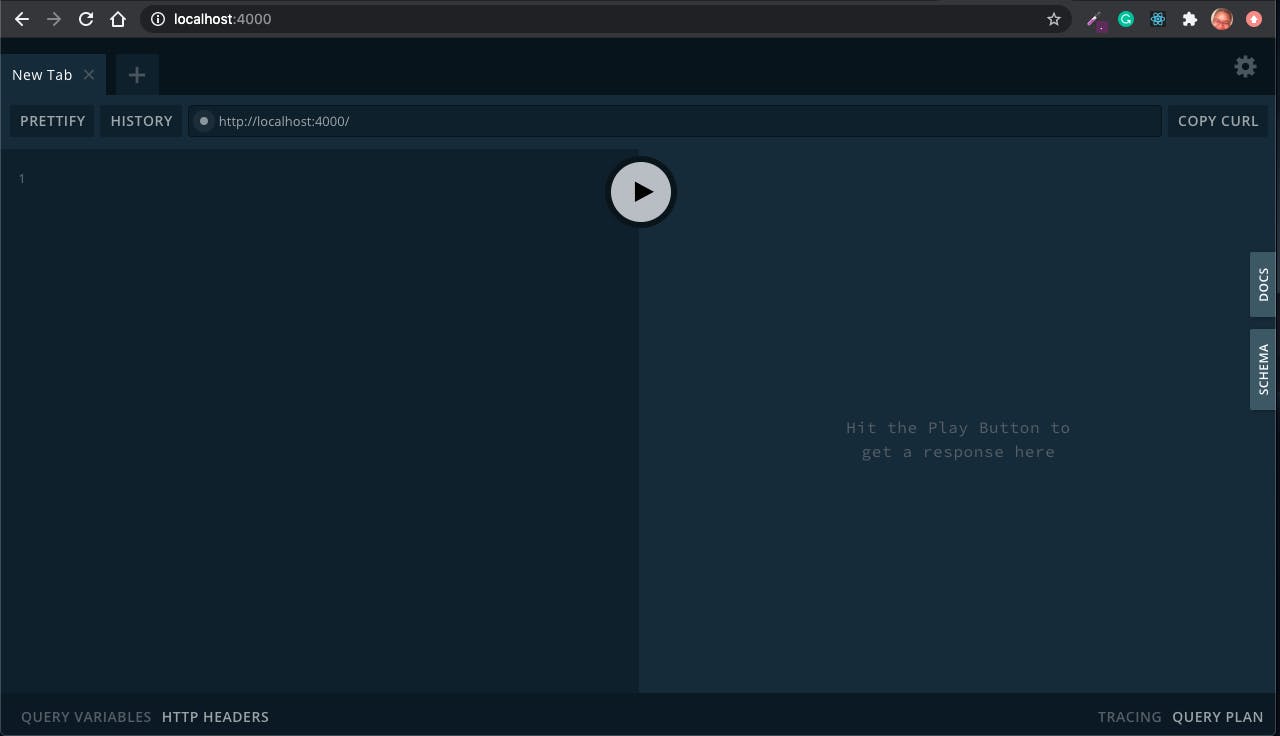
if everything went successfully, you should see your Graphql server running like this.

Overall, your package.jsonand server.js should look like this in the end.
package.json
{
  "name": "chatroom",
  "version": "1.0.0",
  "description": "",
  "main": "server.js",
  "scripts": {
    "dev": "nodemon server.js"
  },
  "keywords": [],
  "author": "",
  "license": "ISC",
  "dependencies": {
    "apollo-server": "^2.16.1",
    "bcrypt": "^5.0.0",
    "graphql": "^15.3.0",
    "pg": "^8.3.3",
    "pg-hstore": "^2.3.3",
    "sequelize": "^6.3.4",
  },
  "devDependencies": {
    "nodemon": "^2.0.4",
    "sequelize-cli": "^6.2.0"
  }
}
server.js
const { ApolloServer } = require("apollo-server");
const typeDefs = require("./graphql/typeDefs");
const resolvers = require("./graphql/resolvers");

const server = new ApolloServer({
  typeDefs,
  resolvers
});

server.listen(4000, () => {
  console.log(`🚀 Server ready at port 4000`);
});
That is all for this one folks. Next, we'll start getting our database hooked up to our project. Until then :)
p.s. feel free to let me know if you're unable to get the Graphql server started, I would be glad to help :)
